Ok let’s continue. After the wiring it was time for new plasterboards (of a special type for bathrooms) both on the walls and floor, and also electric floor heating system.
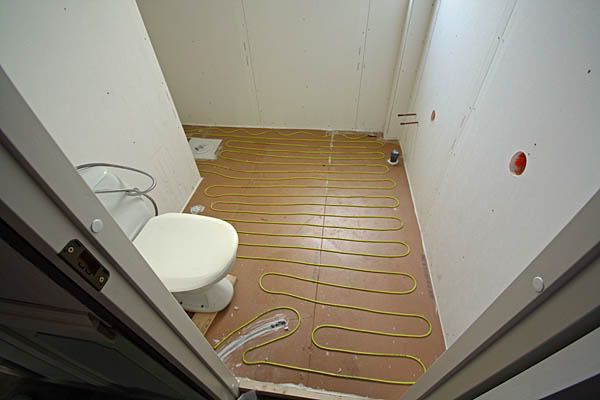
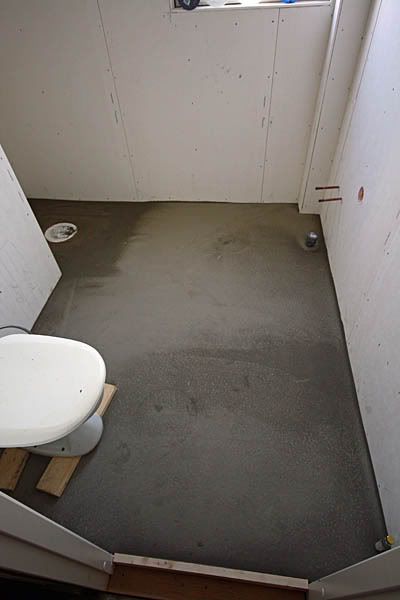
After the electric floor heating system was installed they added some filler (cement) on top of it.
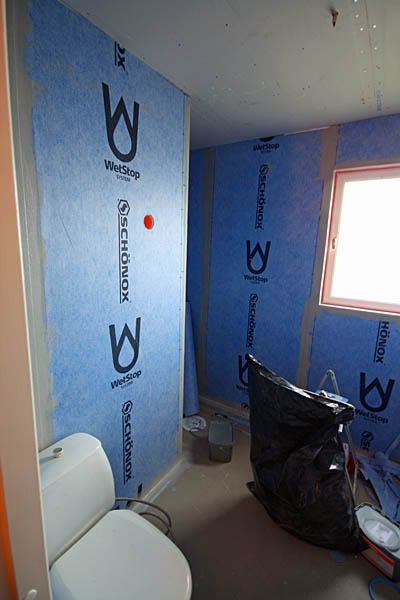
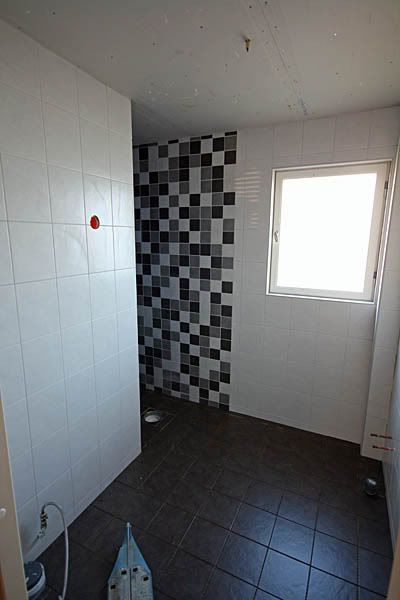
Next to do was to seal the walls so they are watertight. This was almost like wallpaper. The seams had to be watertight too.
The tiles on the walls were put up at the same time as the floor was sealed (just like the walls).
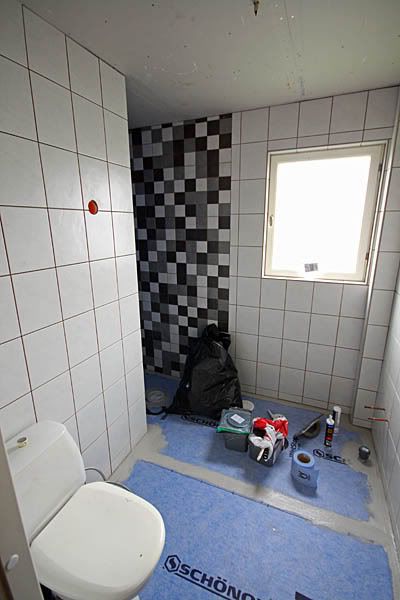
Next up was the floor tiles.
The only thing left now was to add all bathroom furniture (sink, toilet, shower etc.), fan and lighting.
Here is the final result.
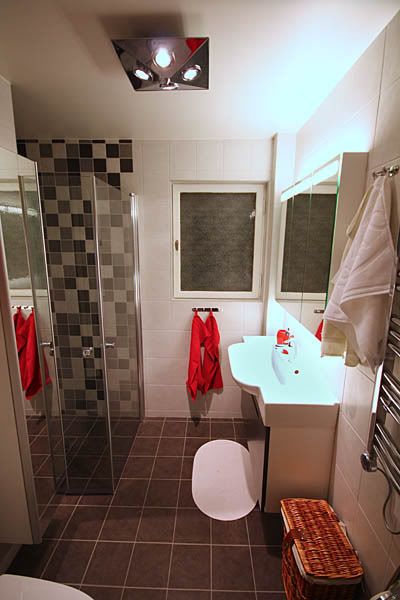
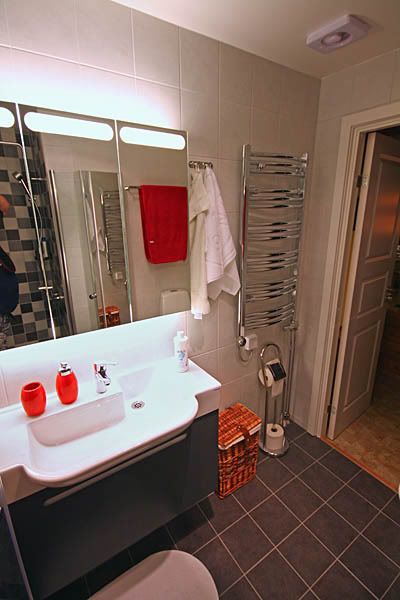
It’s kind of a â€Nordic†color scheme with off-white walls and dark grey floor. I think it would look a bit boring if not for the smaller tiles in 3 different colors in the shower. Of course one can always add color by towels etc.
I’m rather pleased with it, and I hope it will last for at least 20 years.
I could have chosen more colorful tiles but then there is a risk that it will look out of date soon, and I would need to exchange tiles in a couple of years. Therefore I tried to keep it as “neutral†as possible.
The only downside is of course the cost. It’s like 8 to 10 big EASY cruises (balcony cabin for two)… :madd:
From start to finish it took more than 4 weeks due to a lot of “drying timeâ€.
I’m curious; do you have similar rules and regulations for a bathroom refurbishment regarding water/moisture sealing and surface material (vinyl or tiles are in principle our only options) over there? Is it different in from state to state?
/Erik

